Noticing the Darker Appearance at Dusk
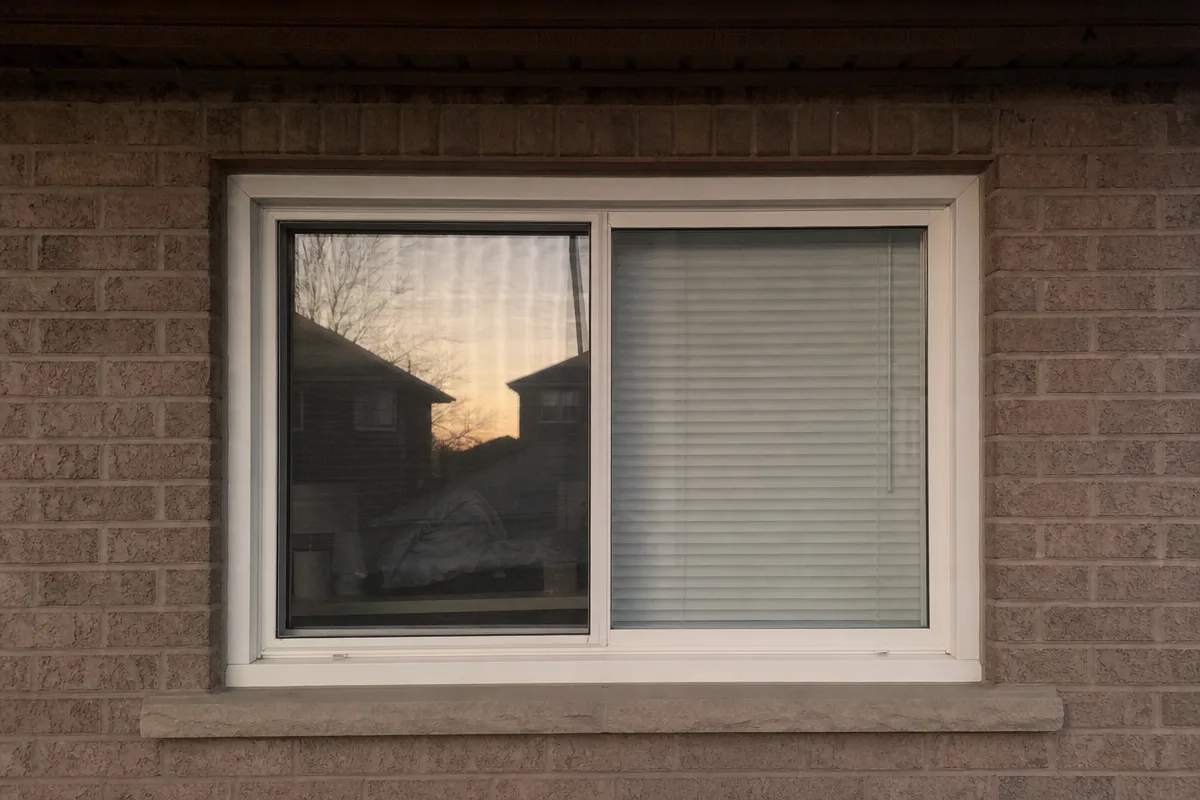
If your replacement glass looks darker than the original when evening falls, especially in a shaded window opening beside another house, this is a common observation. The low light and shadows can affect how glass tint and coatings appear, making the new pane seem noticeably different. This doesn’t always mean the glass is faulty, but it’s important to document the effect carefully for your glazier.
What to Photograph for Glass Rescue
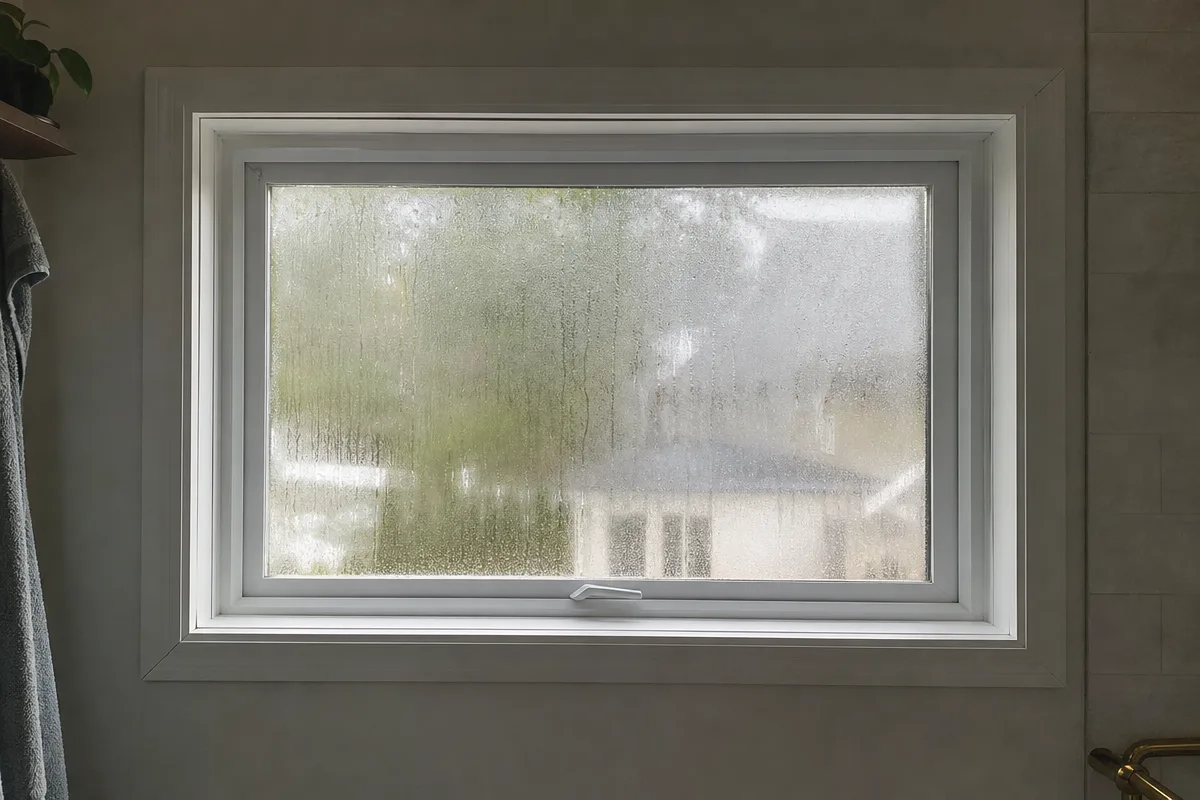
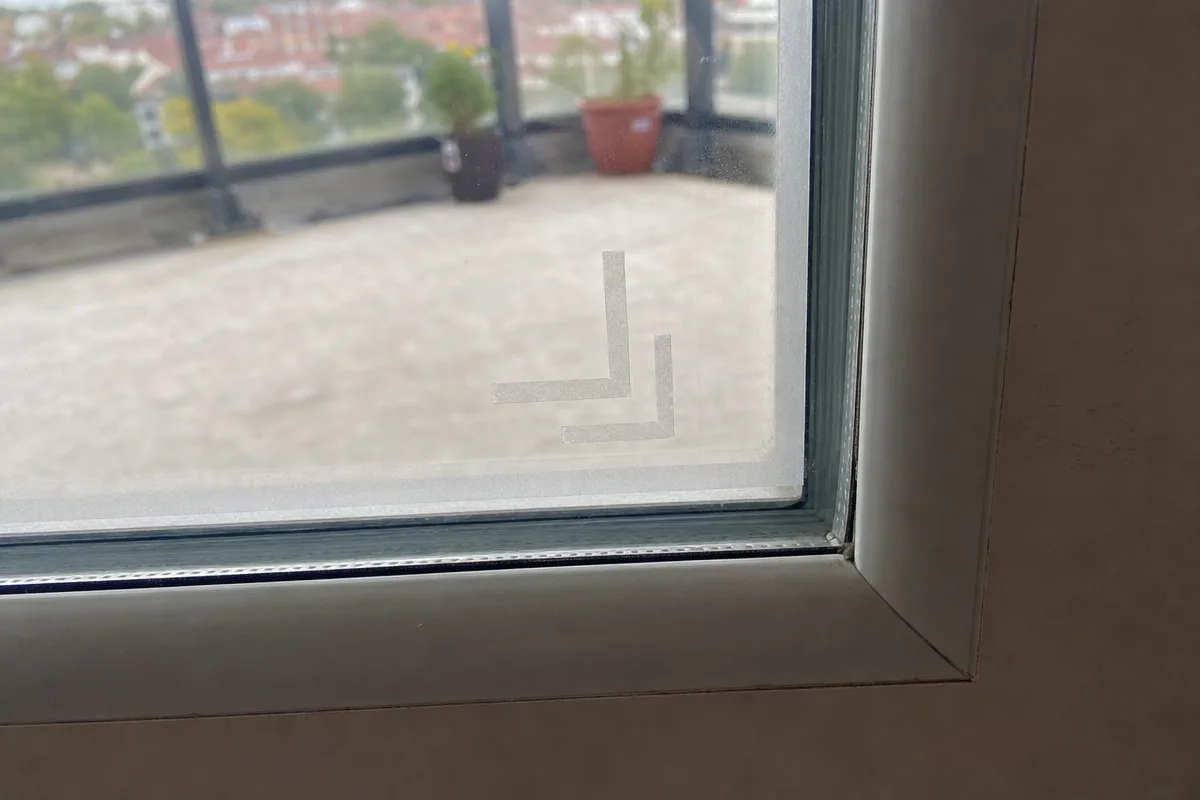
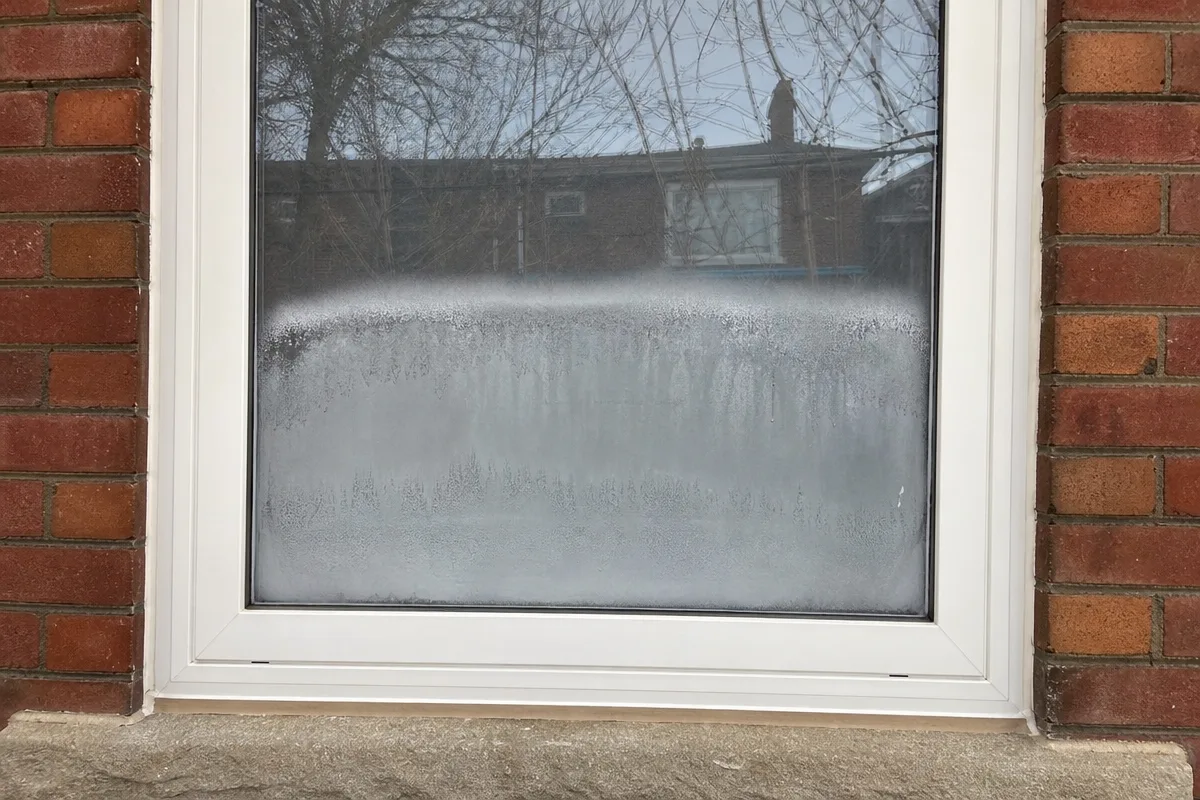
Take photos from inside and outside the window at dusk, capturing the shaded opening and the neighbouring house that casts shadows. Include a shot showing the original pane (if still present) or the surrounding windows for comparison. Try to get images that show reflections, the glass tint, and the ambient light. This visual context helps the Glass Rescue team understand how coatings, glass thickness, and tint interact with the environment.
Helpful Details to Describe
When contacting Glass Rescue, mention the exact location of the window (side facing neighbour), the time of day the darker appearance is noticed (dusk), and any shading or nearby structures affecting light. If you know the glass specifications—such as thickness, tint colour, or coating surfaces—include those details. This information, paired with your photos, allows the experts to assess if the difference is normal or if a replacement pane adjustment is needed.
Sources
Prepared with AI assistance using the references above.