A close-up shows the problem. A wider photo shows where it belongs. Send both to make your first conversation about a window or glass replacement more useful.
Three views that work together
Use these framing examples alongside the full five-photo checklist below.
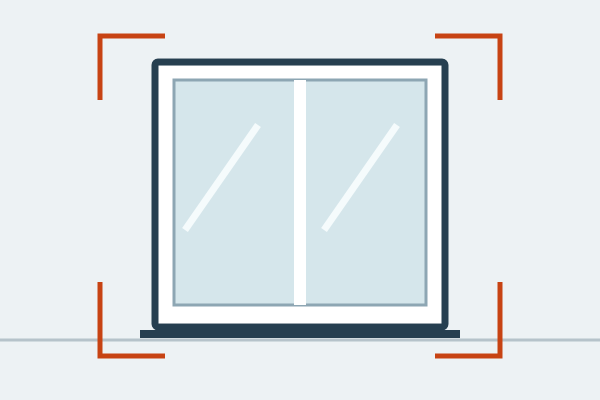
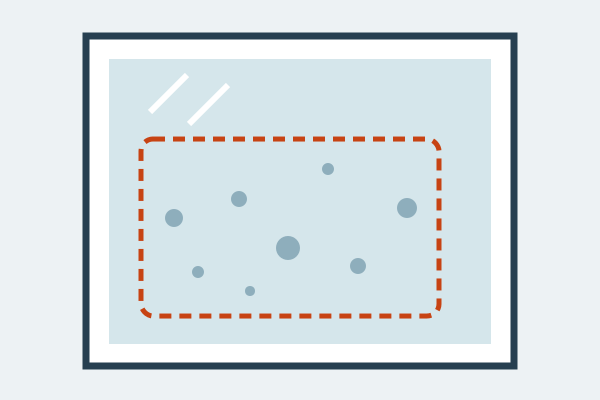
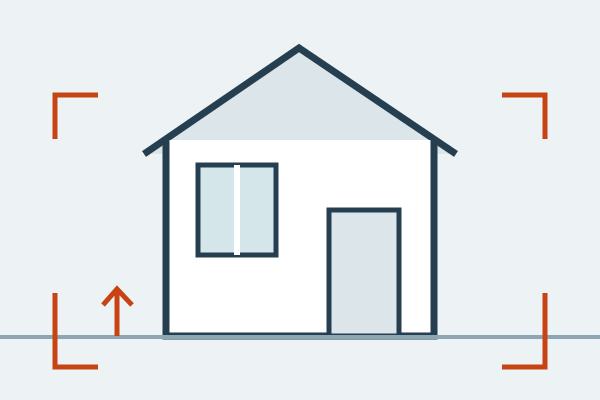
Illustrations show framing only. Stay on the ground, keep clear of damaged glass, and skip any photo you cannot take safely.
The whole window from indoors
Stand far enough back to include the frame and surrounding trim. For a group of windows, show the full arrangement so it is clear which opening needs attention.
The visible issue
Photograph fogging, a crack or an area of concern from a safe distance. Mention whether moisture wipes off the indoor surface or appears trapped between panes. Do not touch or press damaged glass.
The opening parts
Show the handle, lock and sash from inside. Say whether the window opens and closes normally. Leave it closed if it is damaged or difficult to move; a photo does not require forcing it open.
The outside view, if safely accessible
A ground-level photo can show the surrounding wall and access. Do not climb, lean out or use a ladder to get a picture. Tell us if the opening is above ground level or behind an obstruction.
An accessible product label
If a manufacturer label is already visible, photograph it. Do not remove trim or dismantle the window to find one. If there is no label, just mention that.
“Two upstairs bedroom windows in Etobicoke. One has fog between the panes. Both open and lock. Photos show the full windows and the fogging.”
What to include with the photos
Share your neighbourhood, the number of affected windows, the floor level and the symptoms you have noticed. If you already know approximate dimensions, label them as approximate and say what you measured. Do not use homeowner measurements to order glass.
What photos cannot confirm
Photos support an initial discussion. They do not confirm final glass dimensions, hidden frame condition, glass specification or all installation requirements. Ask what needs to be verified before an order is placed.
Before sending
Check that the images are in focus and avoid including people, documents or other personal information in the background. Keep children and pets away from damaged glass.
Send your photos and project details. For visibly unsafe broken glass, call 647-594-4488 to discuss the situation.