
Send enough information for a useful estimate—without taking unsafe risks.

The best estimate request is not the longest one. A few clear photos and basic measurements can identify the product, failure, access and approximate scale without requiring you to know glazing terminology.
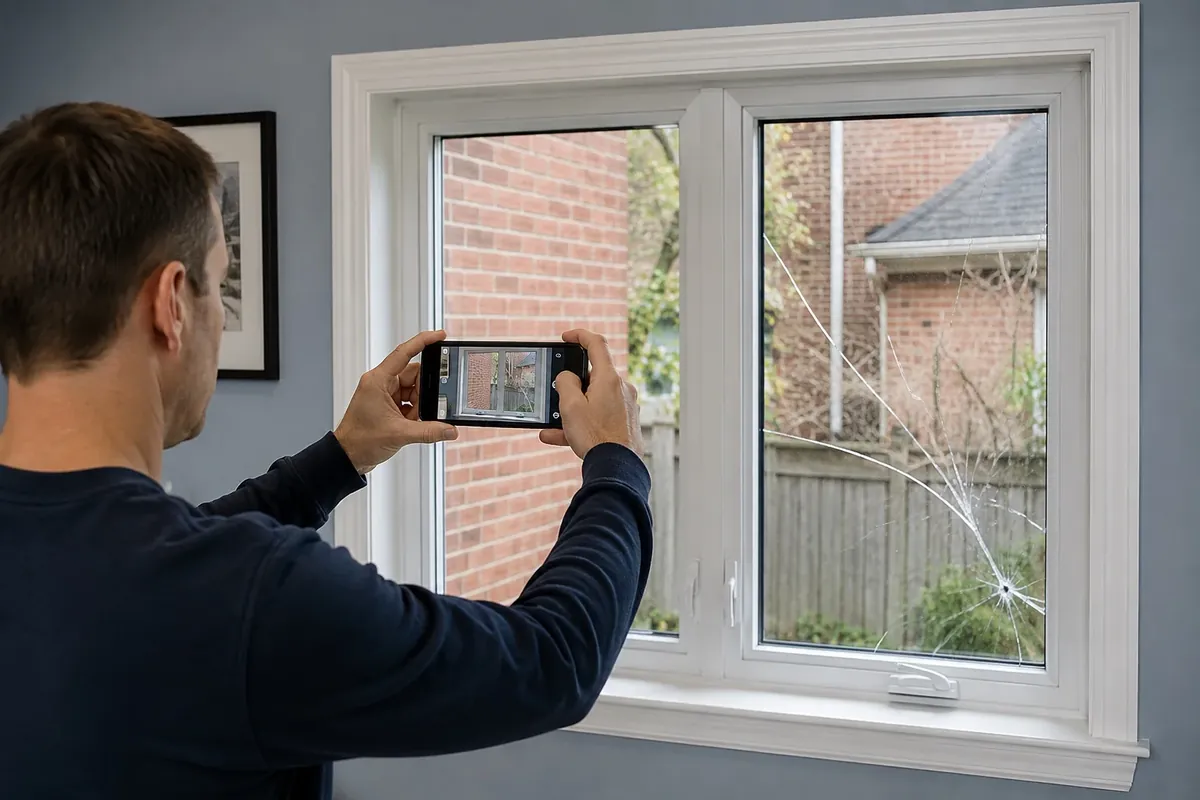
Start with the opening, then confirm the glass specification.
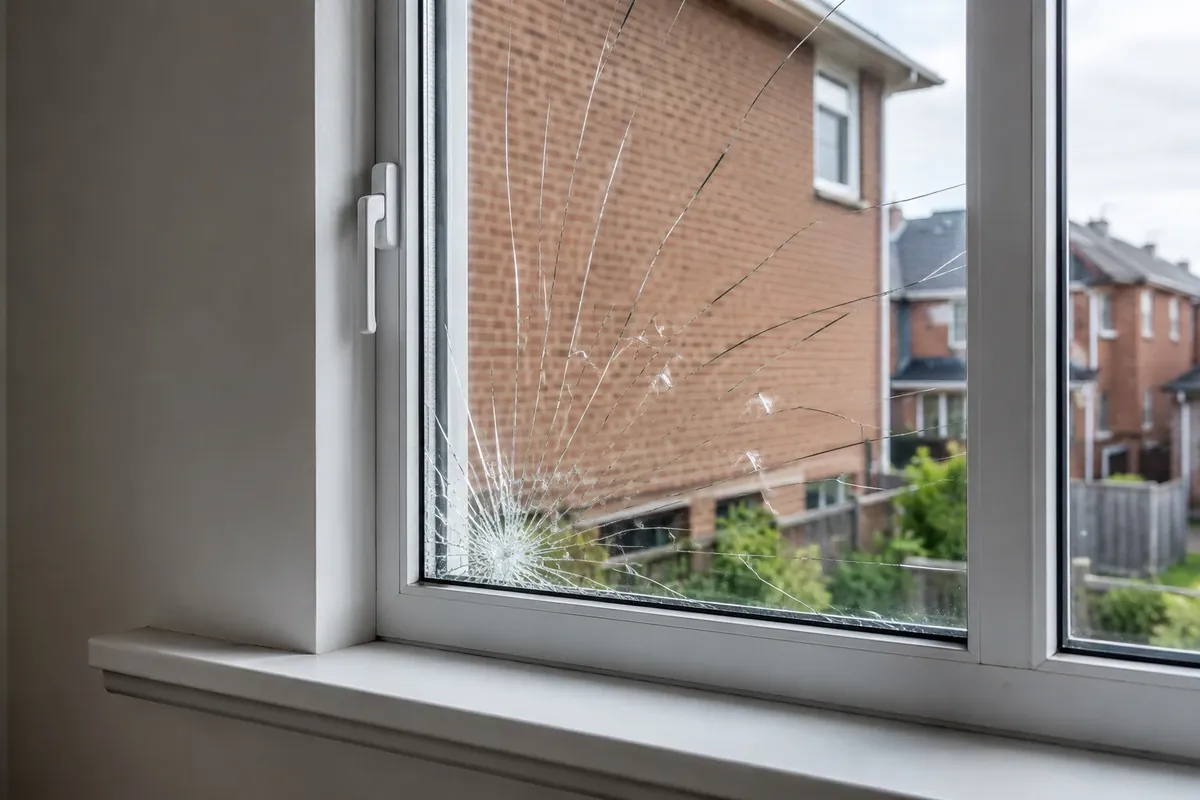
Photo one: show the complete window, door or storefront. Photo two: show the damaged or fogged area. Photo three: show the frame edge, label or hardware if relevant. Photo four: show the route or exterior access when that can be done safely.
Photo one: show the complete window, door or storefront.
Exact dimensions, glass construction, frame condition and safe access are confirmed before custom material is ordered.
Useful non-photo details include postal code, floor level, quantity, whether the opening is exposed, whether the door/window operates, and whether the glass is between interior and exterior panes.
Send safe photos and rough size, use the existing online estimator for a planning range, or call if the opening is exposed.
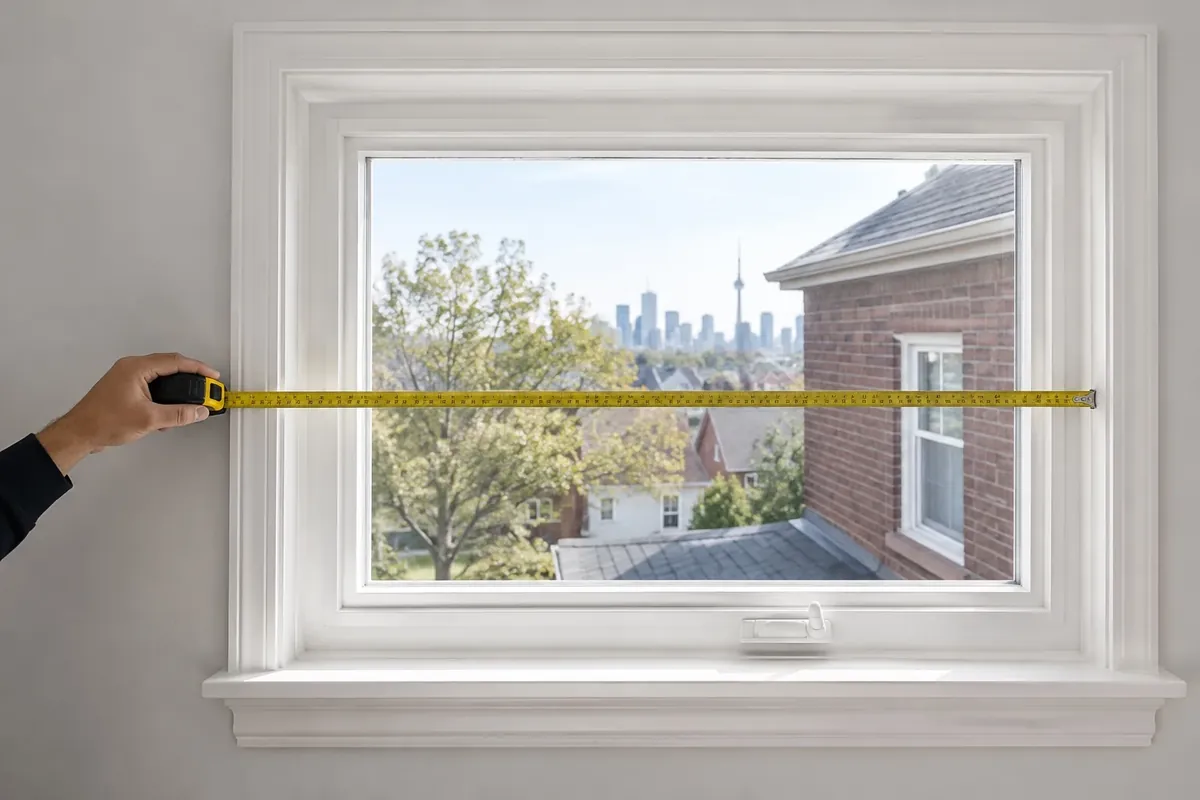
Start wide, then move closer only if it is safe
For rough size, width and height of the visible glass or opening are useful. Do not disassemble stops, remove trim or open a cracked sash to reach hidden edges. Exact fabrication dimensions are taken later.
Useful non-photo details include postal code, floor level, quantity, whether the opening is exposed, whether the door/window operates, and whether the glass is between interior and exterior panes.
If you cannot safely approach the glass, skip the measurement. Distance photos and a clear description are better than a precise number obtained beside unstable material.
From first photo to measured replacement.
Glass work is often custom. The first conversation should identify the problem well enough to choose the next step; the final order is based on verified conditions.
Start with the whole window, door, storefront or glass panel rather than only the damaged spot.
Rough size is useful for planning; exact dimensions are verified before ordering.
Floor level, exterior approach and obstacles can change labour and handling requirements.
Tempered, laminated, Low-E and insulated glass should be confirmed rather than guessed from appearance alone.
Photos should explain the whole opening.
Wide views help identify framing and access. Close views help identify the failure. These images are service-reference photography and are not presented as a portfolio of specific Glass Rescue jobs.
What can change the final quote?
Useful non-photo details include postal code, floor level, quantity, whether the opening is exposed, whether the door/window operates, and whether the glass is between interior and exterior panes.
- Useful non-photo details include postal code
- whether the opening is exposed
- whether the door/window operates
- and whether the glass is between interior and exterior panes.
What to send before a measurement.
Send a full-view photo, a close-up of the problem, the postal code, rough width and height when safe, and a photo showing stairs, balcony, storefront sidewalk or other access condition. If the glass is loose or exposed, say that first.
For foggy insulated units, show the whole sash and any grid pattern. For doors, show the complete door and retainer. For storefronts, include the whole elevation and entrance. Final dimensions are verified before custom glass is ordered.
Answers for this what to send for a glass estimate request.
Do I need a tape measure in the photo?
No. A rough written width and height is enough for the first review, and final dimensions are verified separately.
Should I remove broken pieces before taking photos?
No. Do not disturb loose glass for the sake of an estimate.
What photo helps with access?
Show stairs, balcony, window well, storefront sidewalk, narrow hallway or other condition that affects how replacement glass reaches the opening.
Should I include the whole frame?
Yes. The frame, sash and surrounding opening help distinguish glass-only work from broader window or door damage.
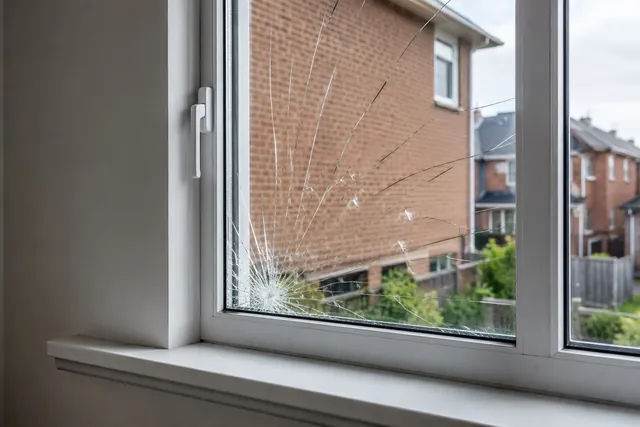
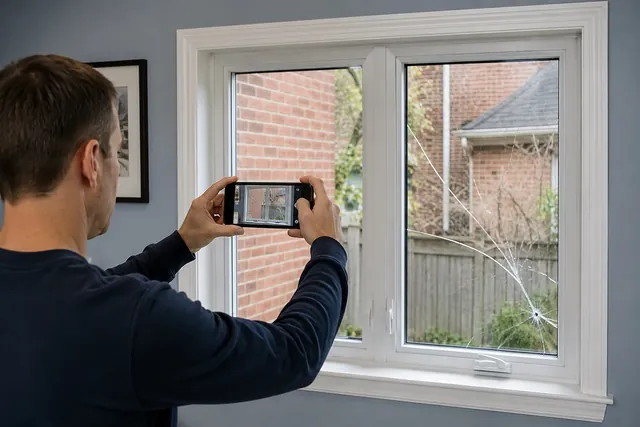
Send the opening, damage and location.
Use the existing Glass Rescue estimator for a planning range, or call (365) 990-2755 when you need the problem reviewed directly. Estimate technology may be referenced as powered by GlassQuote.ca; Glass Rescue remains the local service brand.
Glass Rescue · installation and replacement
Request a glass estimate
Tell us what you need and your location. We’ll review the specification and contact you about this request. You can upload photos with your request.
Glass, site measurement and installation are reviewed for the existing opening. A request does not confirm an order or appointment.